¶ Project Zomboid: How to Add Mods
Adding mods to Project Zomboid can make the game a lot more fun. Adding mods onto the server is not very hard at all and can be done with just a few steps. If you want an even easier way to install mods, you can check out this guide.
¶ Method 1: Via the Mods Tab
¶ Step 1: Open the Mods Tab
1. On your indifferent broccoli dashboard, open the 'Mods' tab on the left hand side to open our in-house mod selection system.
¶ Step 2: Add Mods
1. You can easily search and select mods from the page. If you want to know more about a mod before you select it, you can click on the image to open it's steam workshop page.
2. Once you've selected the mods you want, you can organise their load order by dragging them up and down the list.
Note: The mods at the top of the list load first , and the ones at the end load last.
3. Press 'Save Mods' at the top of the page. This will write the mod list in the order you've specified to the Advanced Server Settings.
¶ Step 3: Restart Server
Restart the server and you're all set - Happy Modding!
¶ Method 2: Manual Sorting
¶ Step 1: Finding the Workshop ID & Mod ID
1. Find the mods you want to install on the steam workshop. For this example, we will be using Better Sorting which is a mod that categorizes items in the game.
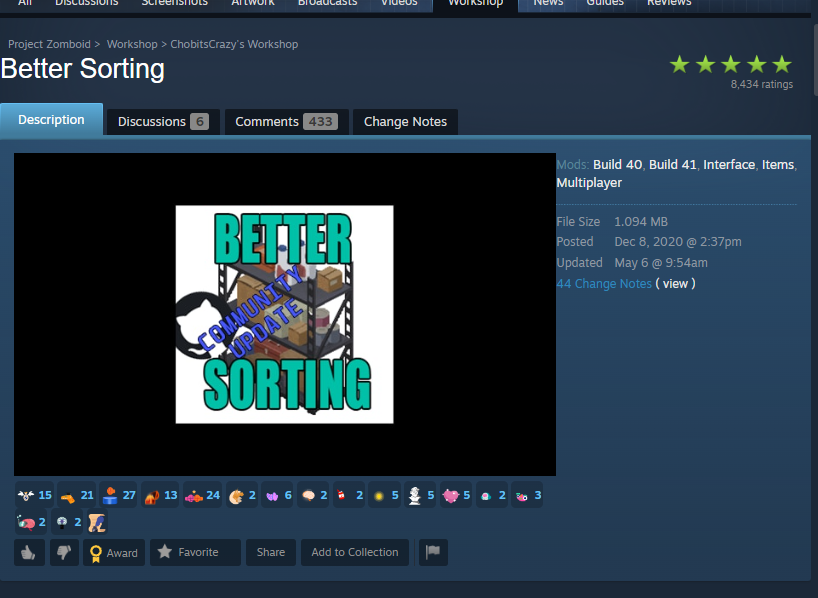
2. On the Steam workshop page for Project Zomboid mods there is a workshop ID and mod ID (Typically listed at the bottom before the comments).
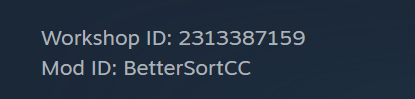
3. Be sure to read the description of the mod. Some mods may have multiple mod IDs that are needed or perform different functions.
Note: To quickly gather all IDs required for the below steps, you can use Indifferent Ketchups mod gatherer tool here
¶ Step 2: Listing workshop IDs and mod IDs
1. Open the Advanced Server Settings
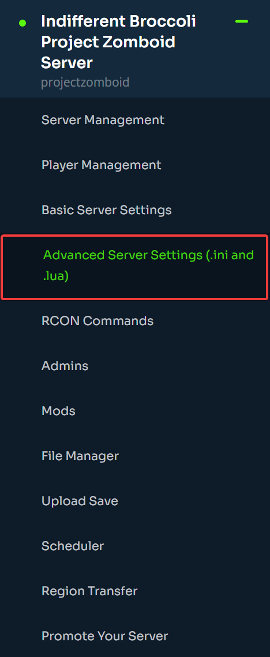
2. Under pzserver.ini, find the line that says Mods=
3. List the mod ID from before here. For multiple mods, list them separated by a semicolon.

4. Find the line that says WorkshopItems=
5. List the workshop IDs here.

6. Save and Restart your server.

7. If you have a lot of mods, the server may take some time to download them for the first time. You will be prompted to install the mods when you join the server.