¶ Project Zomboid: How to Upload an Existing Save
This guide explains how to transfer an existing Project Zomboid multiplayer save from a locally hosted game or another dedicated server to an Indifferent Broccoli dedicated server. It covers transferring your world, player data, mods, and server settings using the Upload Save tool in the Indifferent Broccoli dashboard.
¶ Method 1: Upload a Project Zomboid Save Using the Indifferent Broccoli Dashboard
¶ Step 1: Find and Upload your Save Folder (From Hosting Locally)
1. On your PC, navigate to C:\Users\<YourUsername>\Zomboid\Saves\Multiplayer
2. In this folder, you will see all of your save games. Your save will be named after what you named it in game. Compress your save folder into a .zip file. using a program such as WinRar
Note: The folder MUST be compressed to a
.zip- NOT a.raror.7z
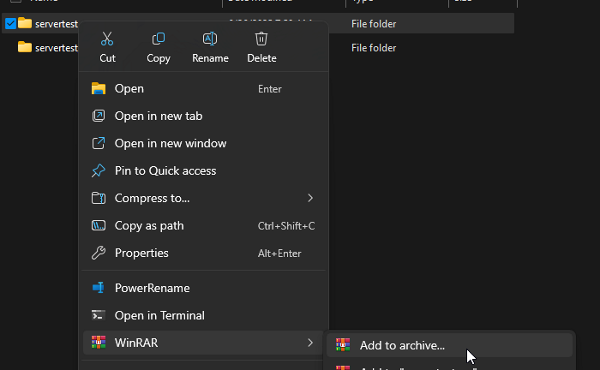
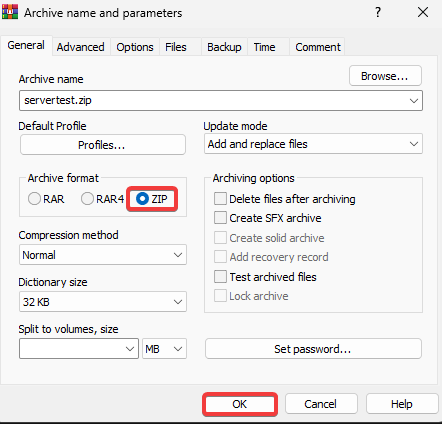
3. If you are coming from another dedicated server host, the path for this folder may vary - it is typically under Saves/Multiplayer within your file access.
4. Open the Upload Save Tab

5. Upload your local save file by clicking the Choose File button

¶ Step 2: Upload Mods and Settings (Optional)
1. If you have mods and settings you would like to use on the server, you can also upload those.
2. On your PC, navigate to C:\Users\<YourUsername>\Zomboid\Server
3. There are three files that are named after your save file as so:
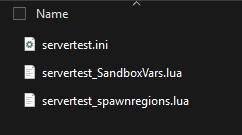
Note: Open the
.inifile and ensure theWorkshopItems=are listed if you are using mods. If they are not, list the workshop IDs for your mods using this guide. (The mod IDs and maps should already be there).
4. When your .ini file is complete, open the Upload Save Tab
5. Press Choose File and select the three files you just collected.

¶ Step 3: Configure the Save
1. Open the Upload Save tab
2. Click Configure Save - everything will be configured for you and the server will restart.

Note: If you're transferring a save from a locally hosted multiplayer game, use your Steam username when logging into the server for the first time. This ensures the server associates you with your existing player account.
¶ Troubleshooting: Admin account not working
You may notice that the default admin account won't work after uploading a save. You can follow these steps to fix this.
¶ Method 2: Manually Upload a Project Zomboid Save [Deprecated]
¶ Step 1: Preparing the Player Database
1. On your PC, navigate to C:\Users\<YourUsername>\Zomboid\Saves\Multiplayer
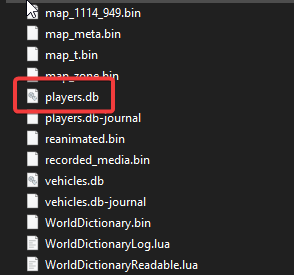
2. Open the folder of your save and find players.db
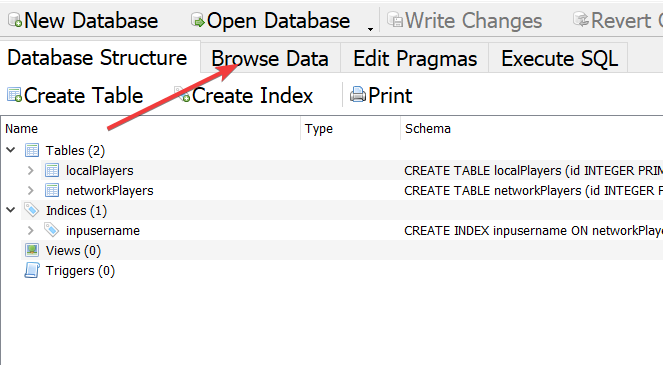
3. Use a program such as https://sqlitebrowser.org/ and open the file in it by dragging or the File menu.
4. Navigate to the Browse Data tab
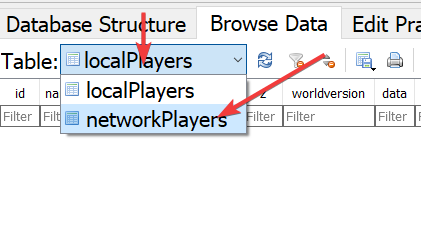
5. Click the dropdown to switch to Network Players
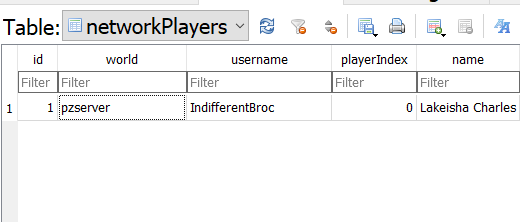
6. Change the value in the world column to pzserver for all players
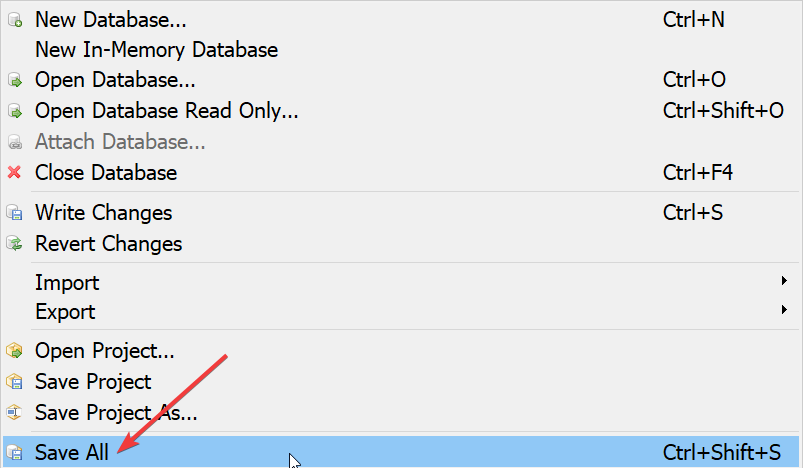
7. Click File then Save All
¶ Step 2: Uploading the Save
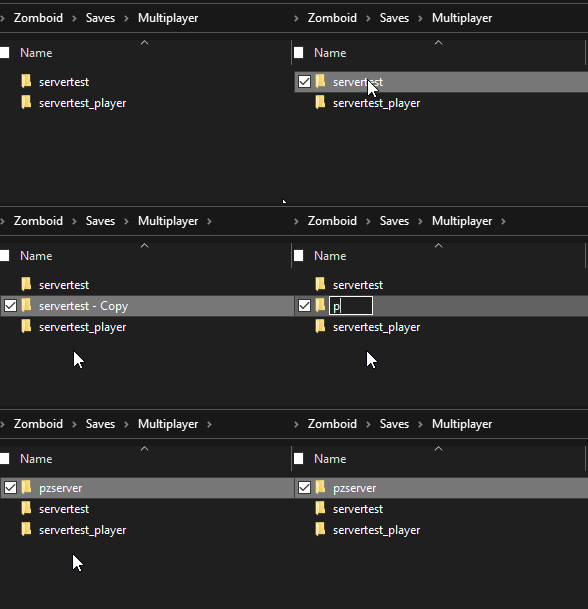
1. Navigate to C:\Users\<YourUsername>\Zomboid\Saves\Multiplayer
2. Find the save that you would like to upload. Make a copy of this and rename it to **pzserver**
Note: The folder MUST be compressed to a
.zip- NOT a.raror.7z
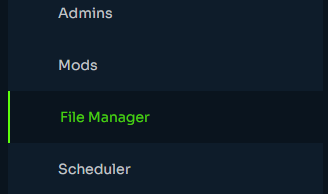
3. Open the File Manager
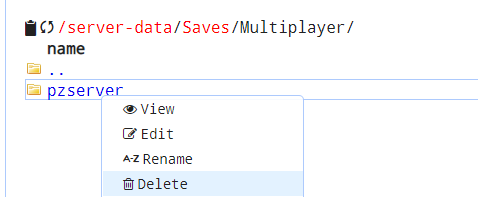
4. Navigate to /server-data/saves/multiplayer/
5. Remove the existing pzserver folder
6. Upload and extract your pzserver.zip. You can delete the zip file when complete.
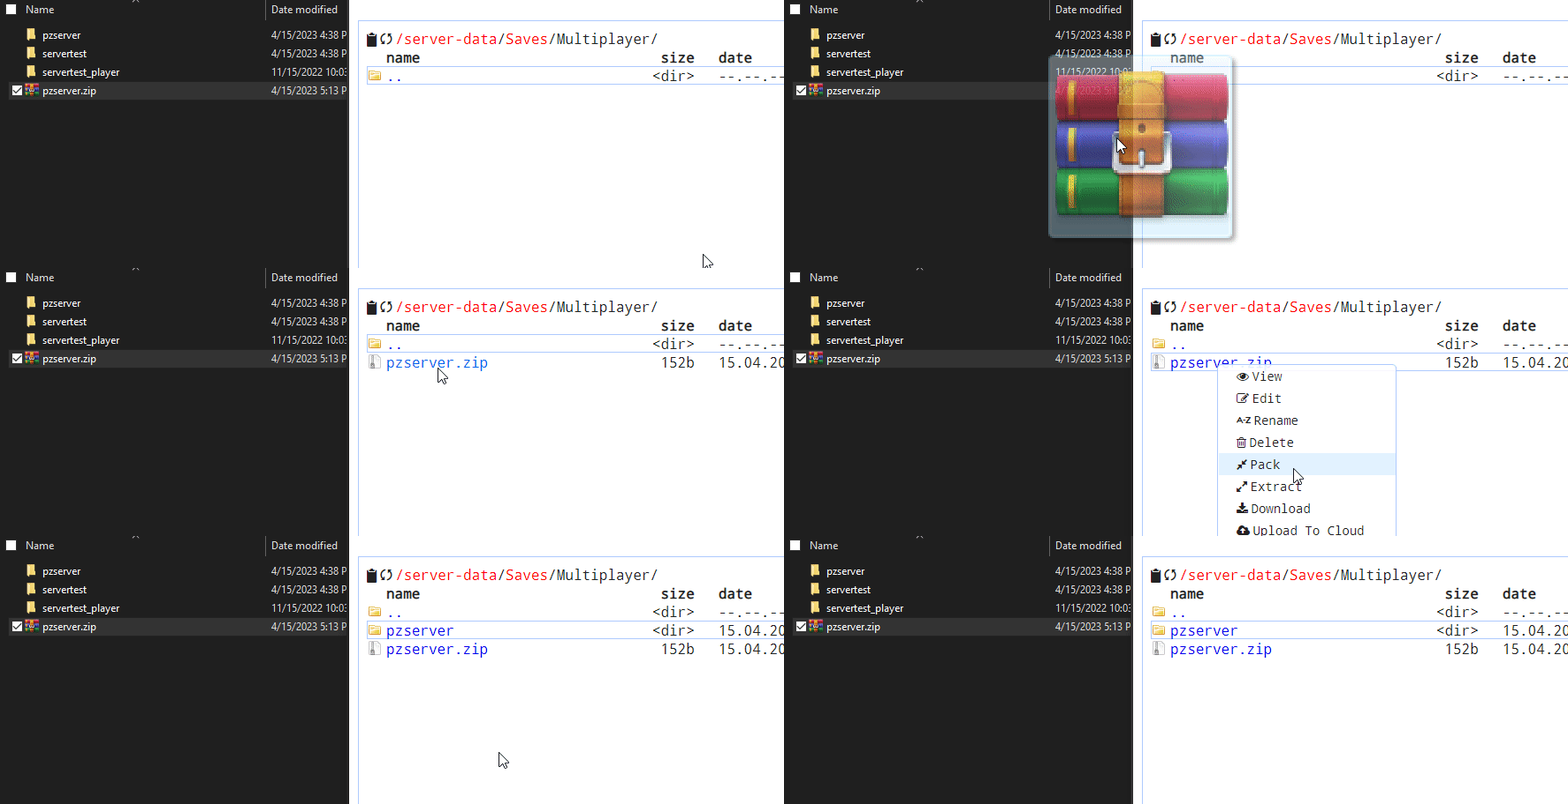
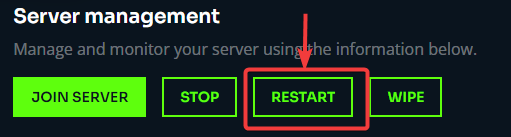
7. Restart your server and your save will be loaded onto the server.
Note: You may notice that the default admin account won't work after uploading a save. You can follow these steps to fix this.