¶ Project Zomboid: How to Join your Server [WIP]
Joining a server in Project Zomboid has slightly different methods depending on which build you are playing on. In this guide we'll go over how to join a server and setup your username and password for both builds.
¶ Method 1: Build 42
¶ Step 1: Find Server Information and Server List
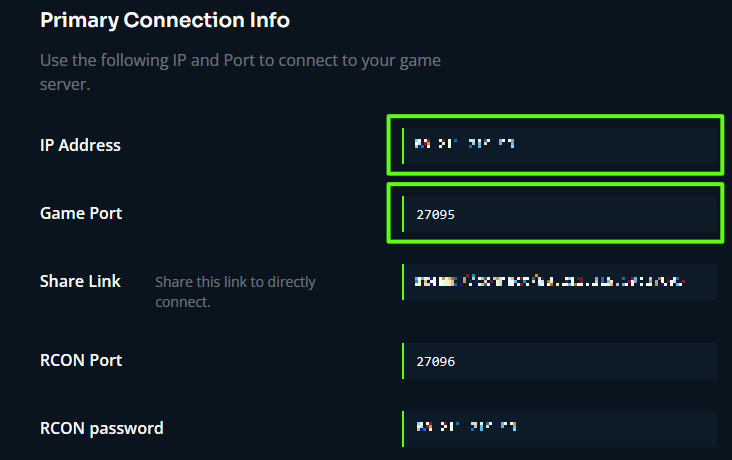
1. Go to your Server Management tab on your indifferent broccoli dashboard to find your servers IP and Port
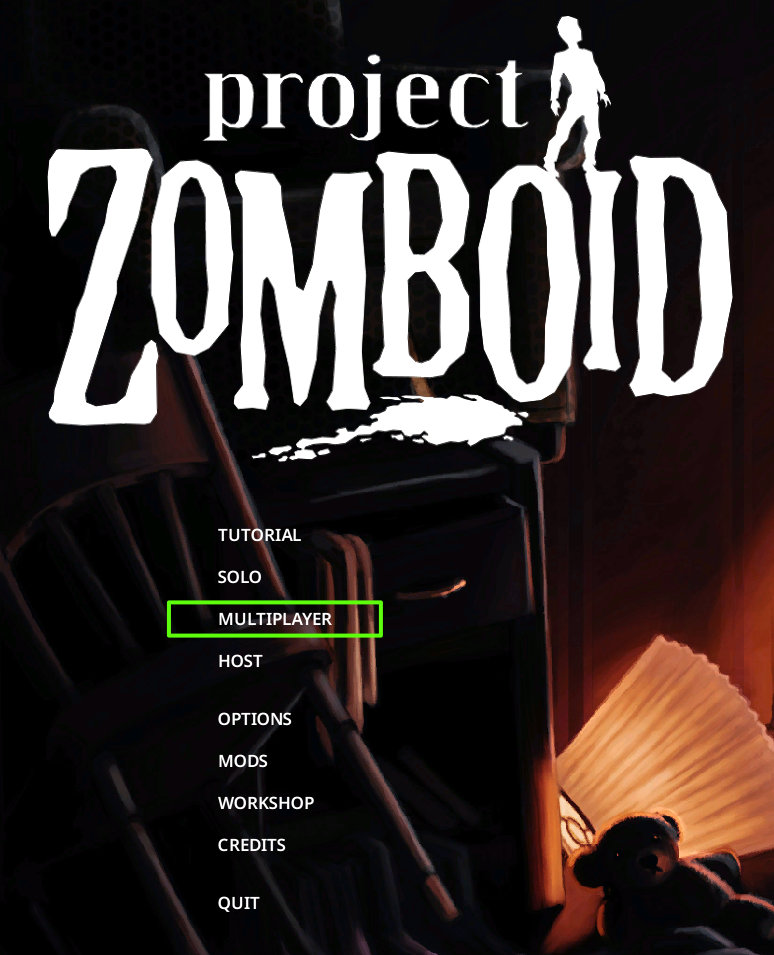
2. Open Project Zomboid and click the Multiplayer Option
¶ Step 2: Set up Server Information
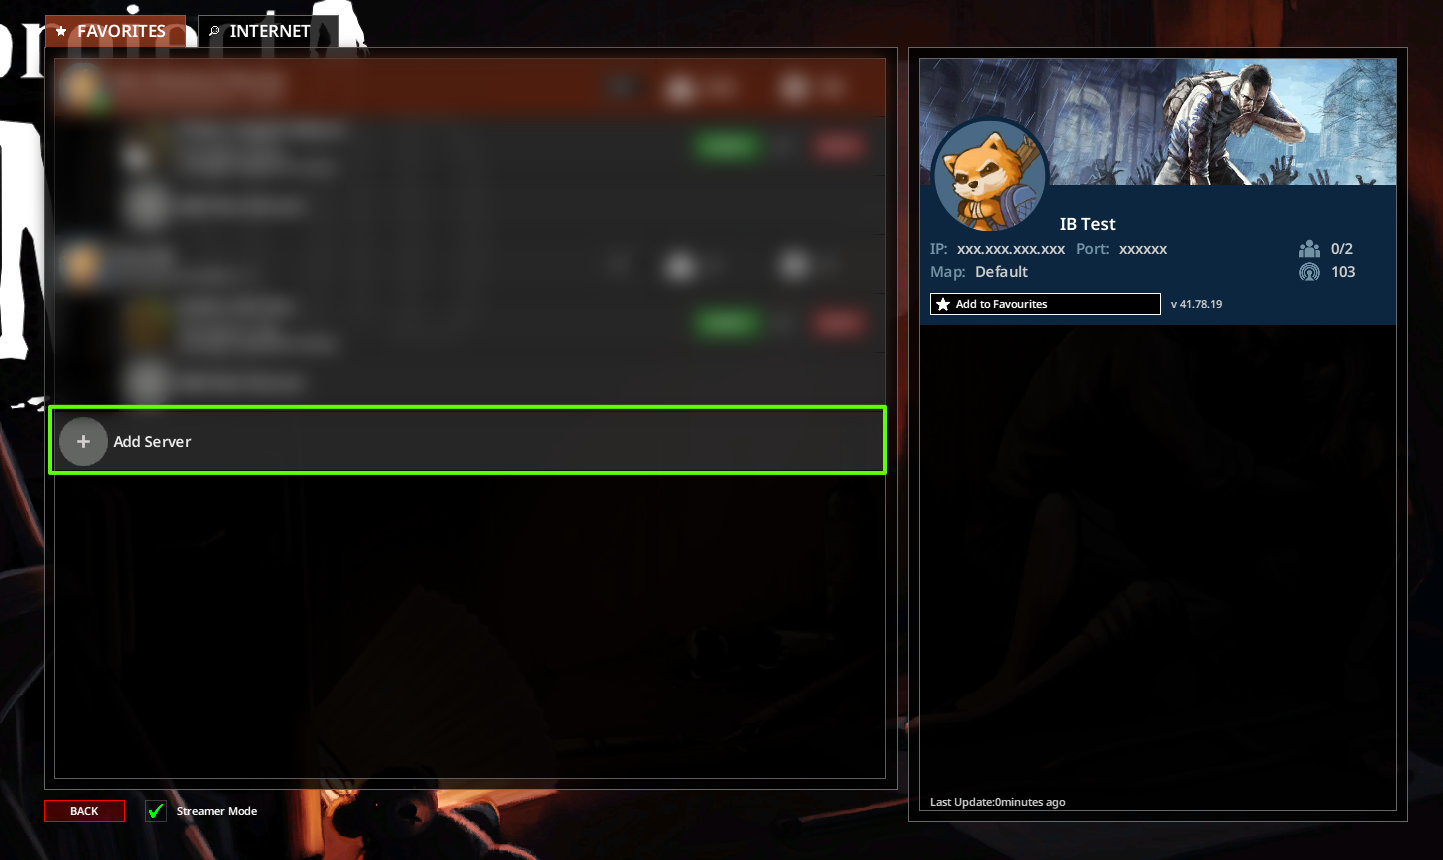
1. On your Server List, press the Add Server button
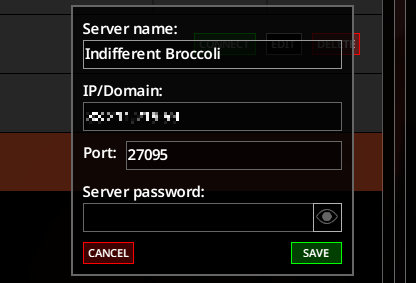
2. Input the IP & Port from your server management tab, along with a server name of your choice and the server password.
3. Press the Add New Account button
4. Set your Username and password, then press Save
¶ Step 3: Log in!
You're all ready to go now, so log in and have fun!
¶ Method 2: Build 41
¶ Step 1: Navigate to the Multiplayer Server List
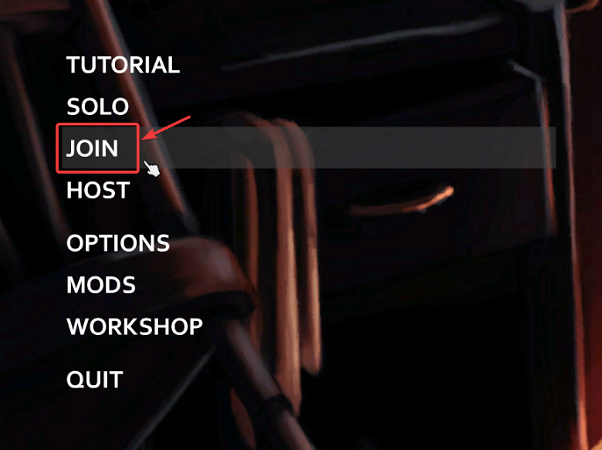
1. In Project Zomboid click Join
¶ Step 2: Set up Server Information
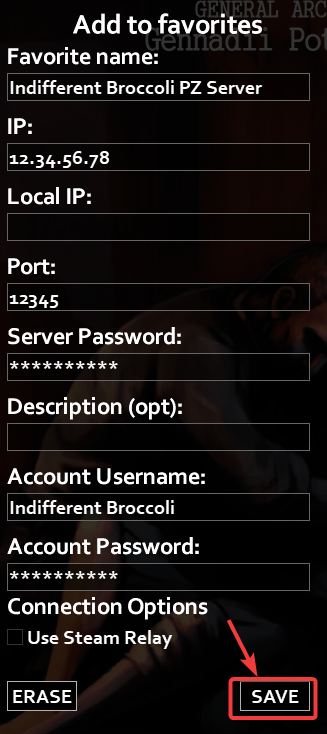
1. Enter your information from the Server Management tab onto the left hand side fields on the project zomboid server list.
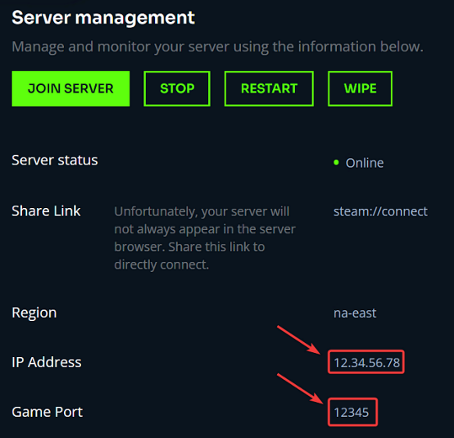
Note: The Favorite name can be whatever you would like. Local IP can be left blank and a Description is optional
2. Set an Account Username and Account Password. Whatever you set here is what will be used for you to log into the server continuing forward. The account username will also be what other players see in game.
4. Press Add and Join Server.
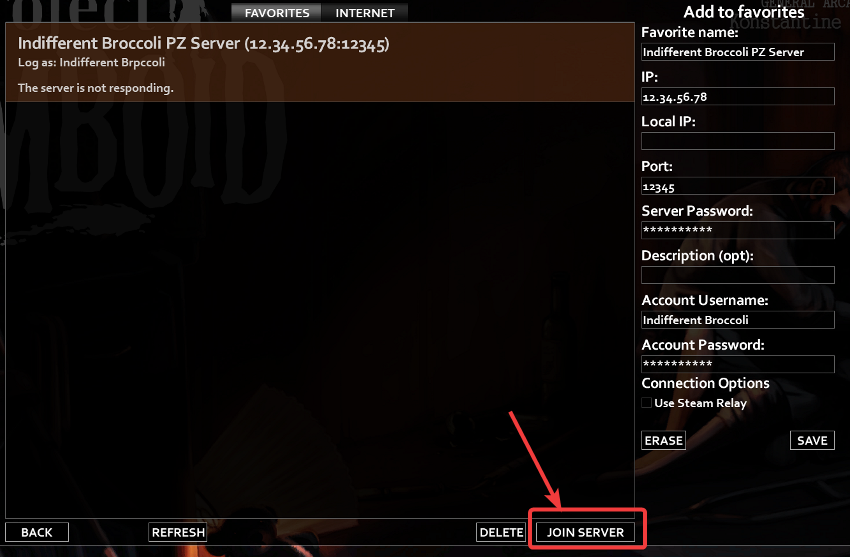
You've just joined your new Project Zomboid server!