¶ Valheim: How to Upload Your Valheim Save to a Server
Already started a Valheim world in single-player or co-op and now want to move it to a dedicated server? You don't need to start over or lose your progress.
In this Valheim guide, we'll show you how to upload your existing Valheim world save to your server using the file manager. Once uploaded, you can continue playing exactly where you left off while taking advantage of dedicated Valheim server hosting. Whether you're moving from a local single-player world, a co-op save, or another server host, this guide will walk you through the process step by step.
NOTE: The save must be a local save, not a cloud save, or the correct files will not show
¶ Step 1: Find your Save Files
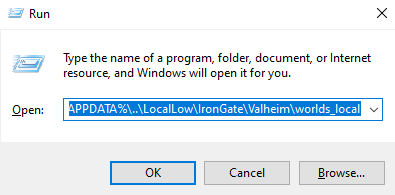
1. Press ⊞ Win + R on your keyboard.
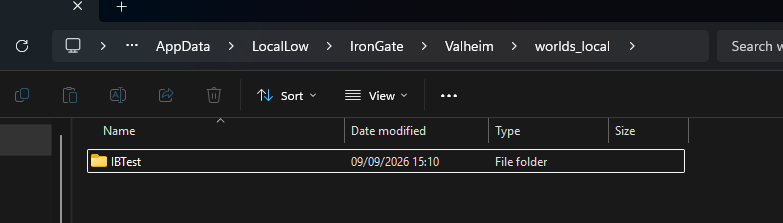
2. In the Run window, copy/Paste %APPDATA%\..\LocalLow\IronGate\Valheim\worlds_local (or, naviate to \LocalLow\IronGate\Valheim\worlds_local via your file explorer)
3. Find the folder named after your world.
¶ Step 2: Upload your Save Files to the Server
1. Stop the server
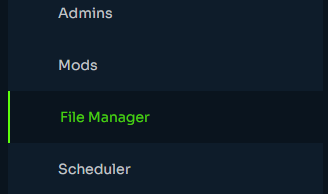
2. Open the File Manager
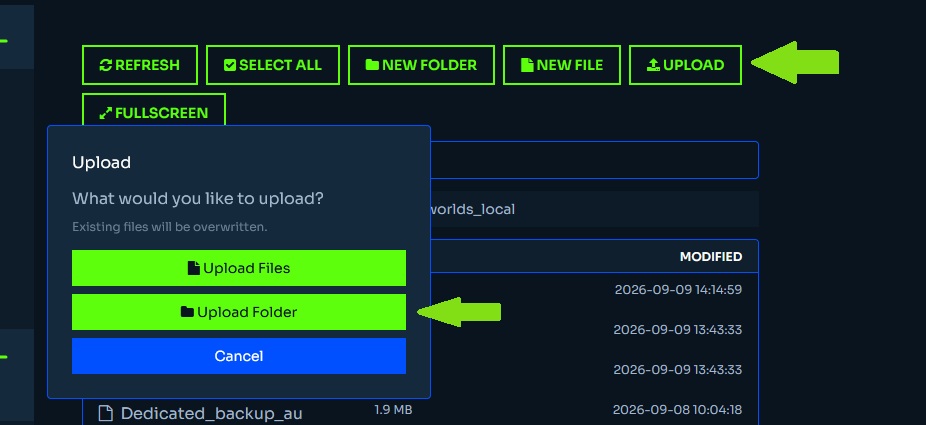
3. Navigate to /.config/unity3d/IronGate/Valheim/worlds_local/
4. Upload the save folder into here via the 'upload folder' button
5. In the Basic Server Settings, set the World Name to match the name of the uploaded folder.

6. Save and restart your server and the save will be loaded onto the server.