¶ Minecraft: How to Make your Own Modpack
Creating your own modpack is easier to do than you might think, and this guide will walk you through the whole process. Make sure you have an idea of what you want your modpack to accomplish, and do thorough testing before publishing it. Here's how you can create your own modpack and upload it to CurseForge.
¶ Step 1: Create and Export the Modpack
1. If you do not have it already, download and install the CurseForge Launcher
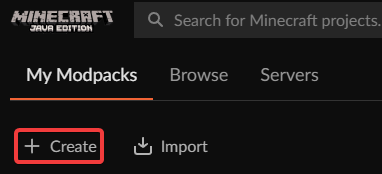
2. In the CurseForge Launcher, select Minecraft, then select Create
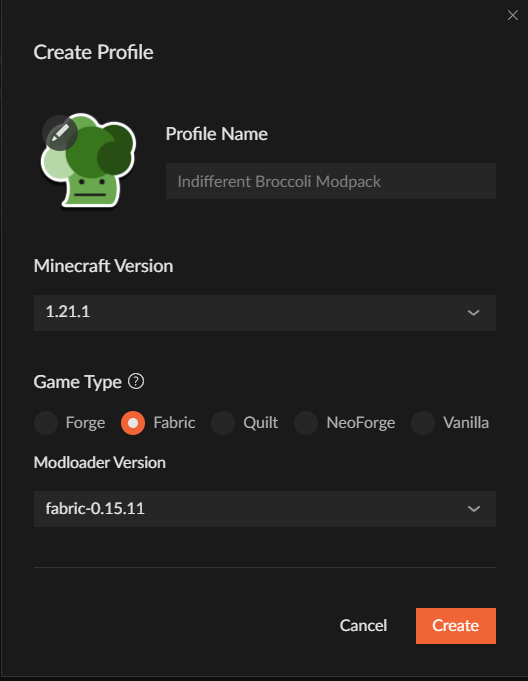
3. In the next screen, choose your modpack platform, version, and optionally set an image.
4. To add mods, click Add More Content and select the mods you want to use.

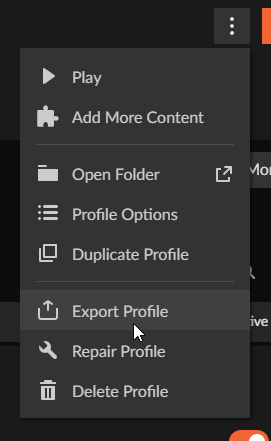
5. When finished, click the three dots and then Export Profile
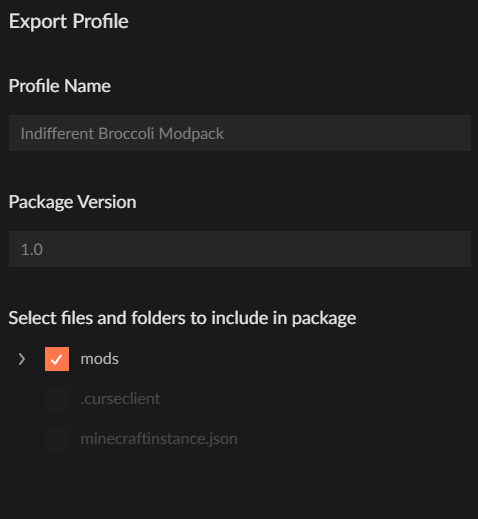
6. Choose a version (i.e. 1.0) and select the folders you want to include. If you don't know, make sure at least the configs and mods folders are selected.
7. Save the zip file from this for later use.
¶ Step 2: Create a CurseForge Account and Become a Creator
1. Head over to CurseForge and create an account.
2. Once your account has been created, hover over the Create dropdown and click Become an author
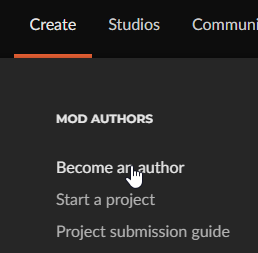
3. On the new page, click Become A Creator

¶ Step 3: Upload your Modpack
1. After you're redirected to the main site, click your profile in the top right and click Dashboard

2. In the sidebar, click Projects

3. In the center of the screen, click Start a Project

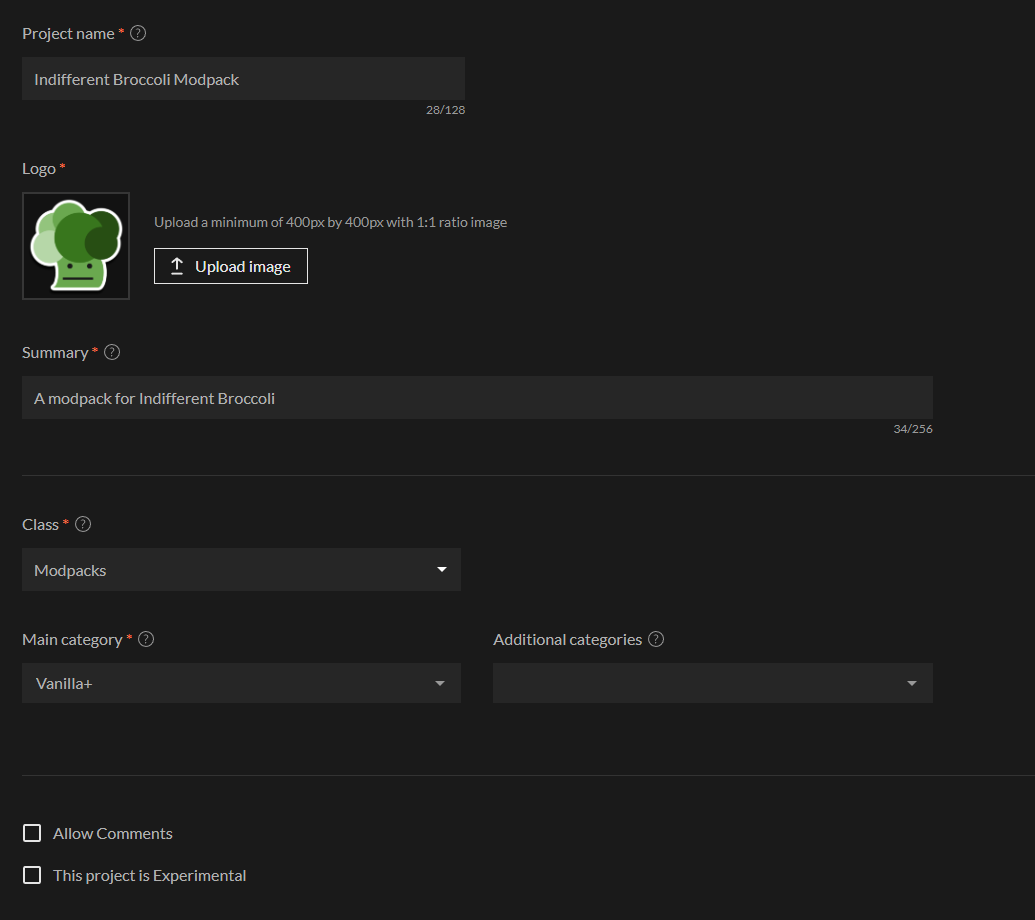
4. Fill out your Project details. Be sure to also upload your zip file from earlier when prompted.
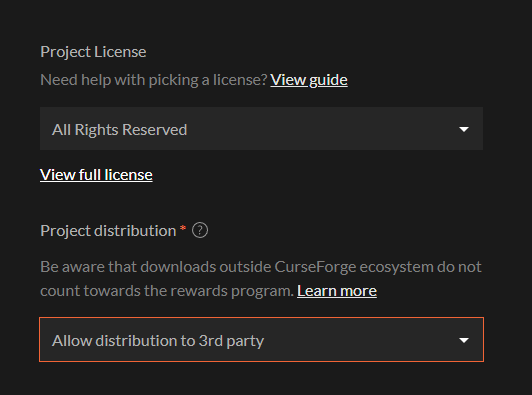
5. In the next screen, make sure to select Allow distribution to 3rd party to use it on your server.
6. When finished, your modpack will go under review by the CurseForge team. Once it's live, you can use our modpack installer guide to install it.