¶ How to Install NeoForge on your Minecraft server
¶ What is NeoForge?
NeoForge is a fork of the original mod loader, Forge, that aims to be a more community focused and driven version of Forge. Mods for NeoForge are developed specifically for NeoForge, and many mods are migrating from Forge to either Fabric and/or NeoForge. If you want to use NeoForge, you can install it on your PC and server.
¶ How do I install NeoForge on my PC?
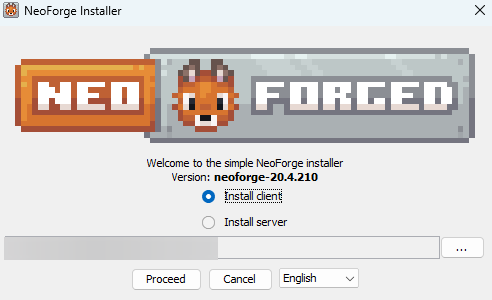
To install NeoForge, you'll want to first head over to NeoForge's site and download the latest version of the NeoForge installer. Once you have it downloaded, run the jar file and the installer will pop up. Leave the installer on the default settings and click Proceed.
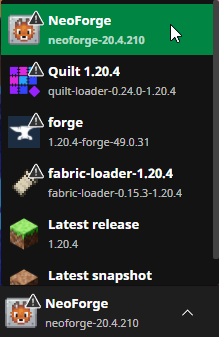
Once you finish install NeoForge, you'll see it as an option in the Minecraft launch. Click the popup and you'll see it as an option to select.
¶ Where do I put the Mods on my PC?
NeoForge works the same way Forge and Fabric do when it comes to installing mods. Simply navigate to the Installations tab in the Minecraft launcher and click the folder icon next to NeoForge.
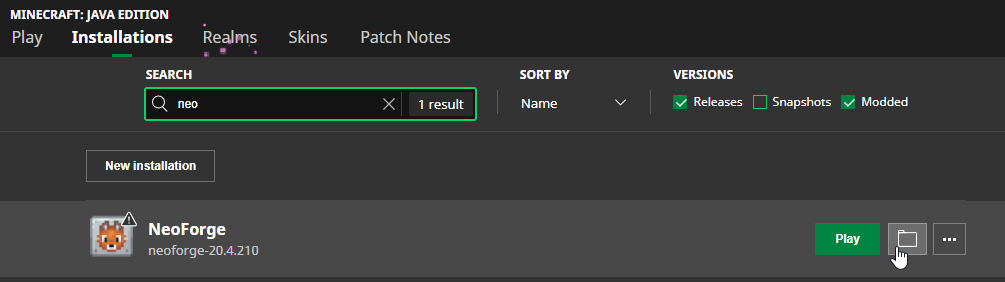
This will open up your Minecraft installation folder which will contain the mods folder. Double click it and you can drag your mod jar files into it to load the mods.

¶ How does NeoForge work with my Minecraft Server?
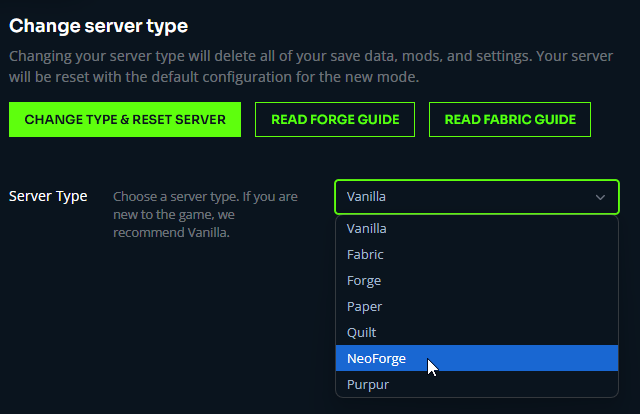
You can install NeoForge in the Change Server Type tab on the Control Panel.
NeoForge should now be installed on your server. You should also now see a mods/ folder in the File Manager where you can place your jar files to install your mods. Once you put the mods on the server, go back to the control panel and restart the server. All players joining the server will need at least the mods that are on the server to connect. For step by step instructions, see our guide on installing mods.