¶ Project Zomboid: The Best Way to Install Mods and Settings
This guide will walk you through automatically generating a config file for your Project Zomboid server. This will avoid the need to list your Mod IDs and Workshop IDs manually.
¶ Step 1: Generate Your Settings
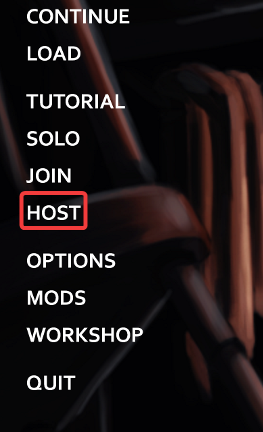
1. In Project Zomboid, click Host

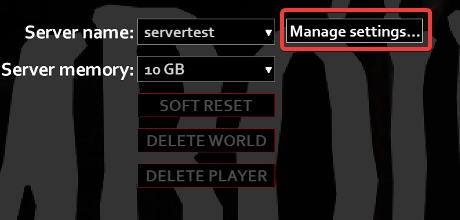
2. Click Manage Settings

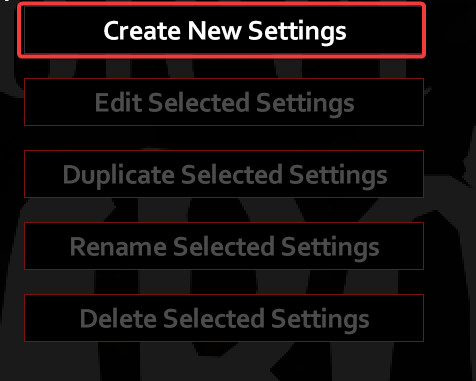
3. Click Create New Settings

4. Enter pzserver for the name
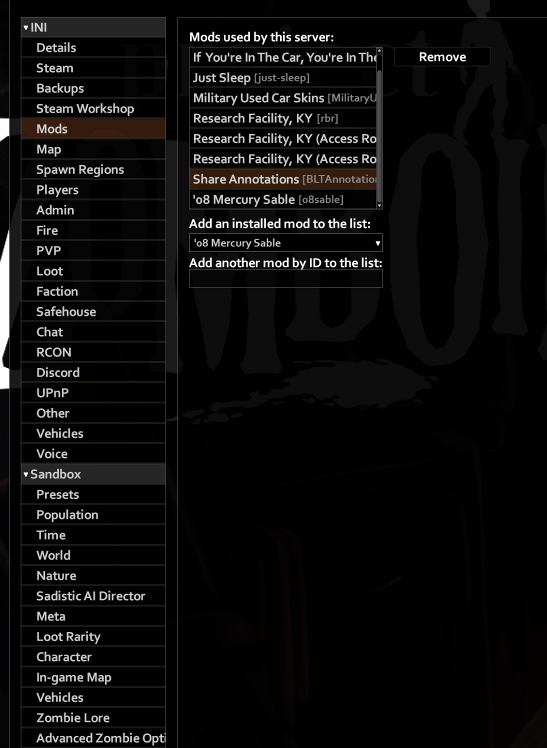
5. You can now add your maps, mods, and settings to the server config easily.

¶ Step 2: Putting the Settings on the Server
1. Press ⊞ Win + R on your keyboard.
2. Copy and Paste this into the run box:
%USERPROFILE%\Zomboid\Server\ 3. There should now be three new files. pzserver.ini, pzserver_SandboxVars.lua and pzserver_spawnregions.lua
4. Open the File Manager

5. Place these files into /server-data/Server/ - you can replace the old ones
6. Make sure to follow this guide to set your ports correctly.
7. Restart the server and your configs will be installed.

Note: You may need to soft reset for some mods, such as map mods, to work.